Notice: This Wiki is now read only and edits are no longer possible. Please see: https://gitlab.eclipse.org/eclipsefdn/helpdesk/-/wikis/Wiki-shutdown-plan for the plan.
Difference between revisions of "CDO Source Installation (CVS, deprecated)"
m (CDO Source Installation old moved to CDO Source Installation over redirect) |
|||
| Line 1: | Line 1: | ||
| − | + | == Introduction == | |
| − | + | This tutorial describes how to install the CDO workspace using Buckminster. It replaces the old tutorial which can be found here. | |
| − | + | ||
| − | + | ||
| − | + | == Prepare the IDE == | |
| − | == | + | Download and install Eclipse 3.6 from http://download.eclipse.org/eclipse/downloads |
| − | + | ||
| − | + | Then open a fresh development workspace. | |
| − | + | [[Image:Cdo_install1.png]] | |
| − | |||
| − | + | Add the following plug-ins from the Helios p2 repository (http://download.eclipse.org/releases/helios) | |
| − | + | Install the following: | |
| − | * | + | * EMF 2.6 SDK |
| − | * | + | * Buckminster 3.6 Core |
| − | * | + | * Buckminster 3.6 CVS Support |
| + | * Buckminster 3.6 PDE Support | ||
| − | |||
| − | + | [[Image:Cdo_install2.png]] | |
| − | + | [[Image:Cdo_install3.png]] | |
| − | + | ||
| − | + | Now you have prepared your IDE with the required tools. | |
| − | + | ||
| − | + | == Create the Target Platform == | |
| − | + | ||
| − | + | For the target platfrom first create an empty project called "_target". | |
| − | + | ||
| − | + | [[Image:Cdo_install4.png]] | |
| − | + | ||
| − | + | ||
| − | + | Now create an empty target definition that Buckminster later can fill with the needed plug-ins (Windows->Preferences->Plugin Development->Target Platform) | |
| − | + | ||
| + | |||
| + | [[Image:Cdo_install5.png]] | ||
| + | |||
| + | |||
| + | Insert the name for the target platform. | ||
| + | |||
| + | [[Image:Cdo_install6.png]] | ||
| − | |||
| − | + | ||
| + | Click 'Add'. | ||
| + | |||
| + | [[Image:Cdo_install7.png]] | ||
| + | |||
| + | |||
| + | |||
| + | Add the directory location ${workspace_loc}/_target. | ||
| + | |||
| + | [[Image:Cdo_install8.png]] | ||
| + | |||
| + | |||
| + | Activate the platform. | ||
| + | |||
| + | [[Image:Cdo_install9.png]] | ||
| + | |||
| + | == Bootstrap the Releng Project == | ||
| + | |||
| + | Now you need to bootstrap the releng project. | ||
| + | |||
| + | http://dev.eclipse.org/viewcvs/index.cgi/org.eclipse.emf/org.eclipse.emf.cdo/releng/org.eclipse.emf.cdo.releng/psf/pserver/_bootstrap.psf?root=Modeling_Project&view=co | ||
| + | |||
| + | Committers use: | ||
| + | http://dev.eclipse.org/viewcvs/index.cgi/org.eclipse.emf/org.eclipse.emf.cdo/releng/org.eclipse.emf.cdo.releng/psf/extssh/_bootstrap.psf?root=Modeling_Project&view=co | ||
| + | |||
| + | Right click the Package Explorer and choose Imort->Team Project Set. Select the downloaded _bootstrap.psf | ||
| + | |||
| + | [[Image:Cdo_install10.png]] | ||
| + | |||
| + | [[Image:Cdo_install11.png]] | ||
| + | |||
| + | [[Image:Cdo_install12.png]] | ||
| − | |||
| − | |||
| − | |||
| − | |||
| − | |||
| − | |||
| − | |||
| − | + | Note, if you want to work on CDO 2.0 switch the branch with Team|Switch to "R2_0_maintenance" branch (not tag!) | |
| − | ==Target Platform== | + | == Materialize the Sources and the Target Platform == |
| − | + | ||
| − | + | ||
| − | + | ||
| − | + | ||
| − | + | ||
| − | + | ||
| − | + | ||
| − | + | ||
| − | + | ||
| − | + | ||
| − | + | To materialize the sources right-click the local.mspec, select Buckminster|Import... | |
| − | + | [[Image:Cdo_install15.png]] | |
| − | + | ||
| − | + | ||
| − | + | ||
| − | + | ||
| − | [[Image: | + | |
| − | + | ||
| − | + | While the following dialog is running go and fetch a coffee, or two, or three... | |
| − | |||
| − | |||
| − | |||
| − | |||
| + | [[Image:Cdo_install16.png]] | ||
| − | + | Finally hit the 'Finish' button | |
| − | + | [[Image:Cdo_install14.png]] | |
| − | + | ||
| − | + | ||
Revision as of 09:39, 19 March 2010
Contents
Introduction
This tutorial describes how to install the CDO workspace using Buckminster. It replaces the old tutorial which can be found here.
Prepare the IDE
Download and install Eclipse 3.6 from http://download.eclipse.org/eclipse/downloads
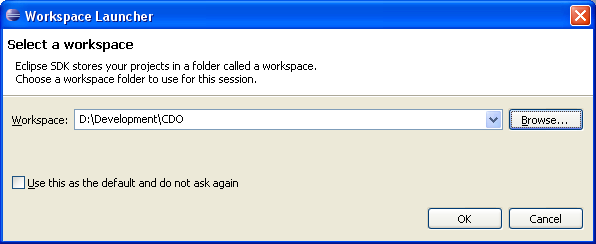
Then open a fresh development workspace.
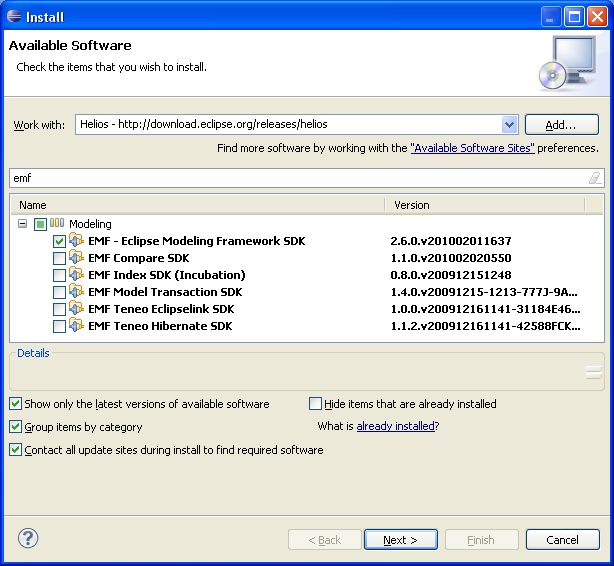
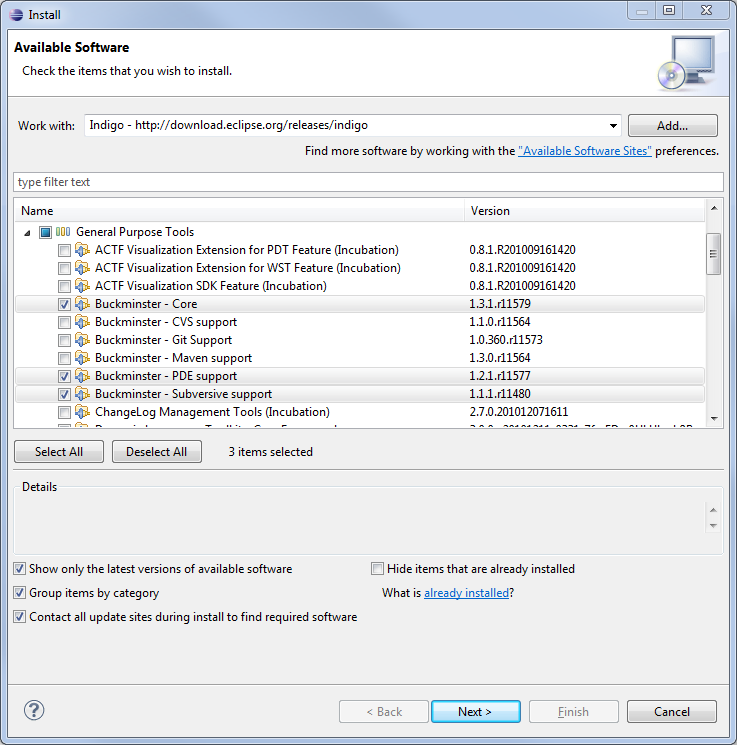
Add the following plug-ins from the Helios p2 repository (http://download.eclipse.org/releases/helios)
Install the following:
- EMF 2.6 SDK
- Buckminster 3.6 Core
- Buckminster 3.6 CVS Support
- Buckminster 3.6 PDE Support
Now you have prepared your IDE with the required tools.
Create the Target Platform
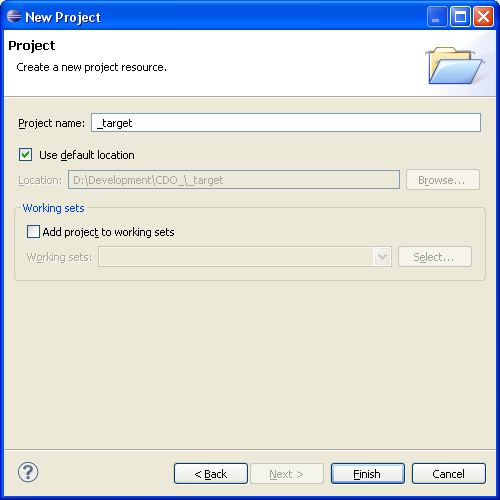
For the target platfrom first create an empty project called "_target".
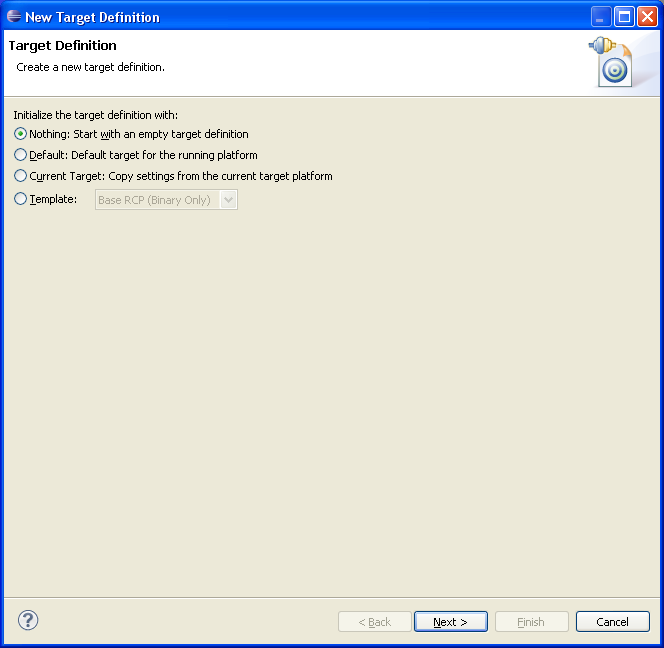
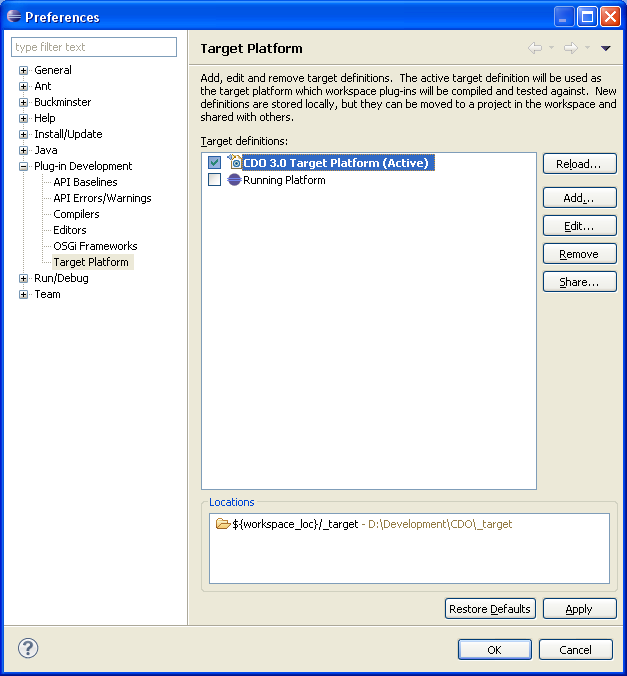
Now create an empty target definition that Buckminster later can fill with the needed plug-ins (Windows->Preferences->Plugin Development->Target Platform)
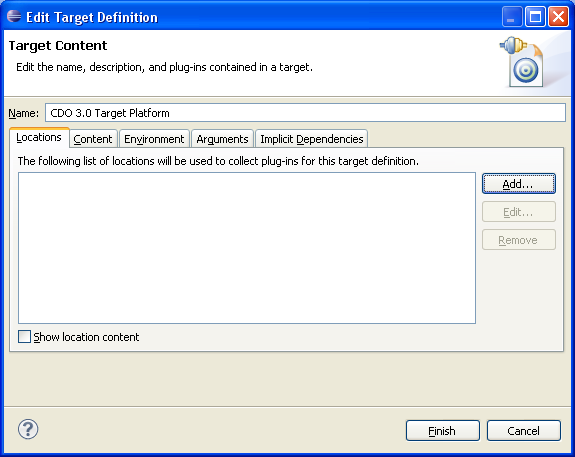
Insert the name for the target platform.
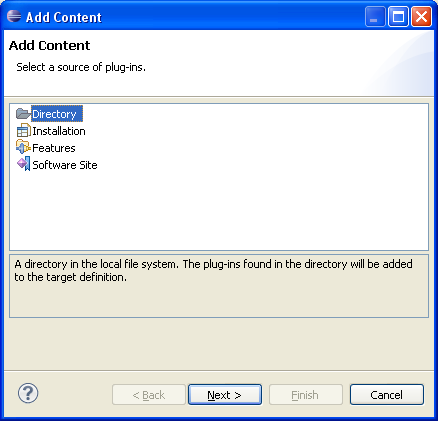
Click 'Add'.
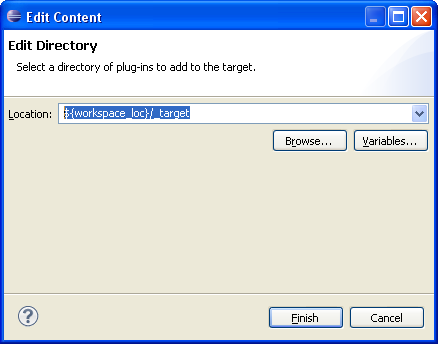
Add the directory location ${workspace_loc}/_target.
Activate the platform.
Bootstrap the Releng Project
Now you need to bootstrap the releng project.
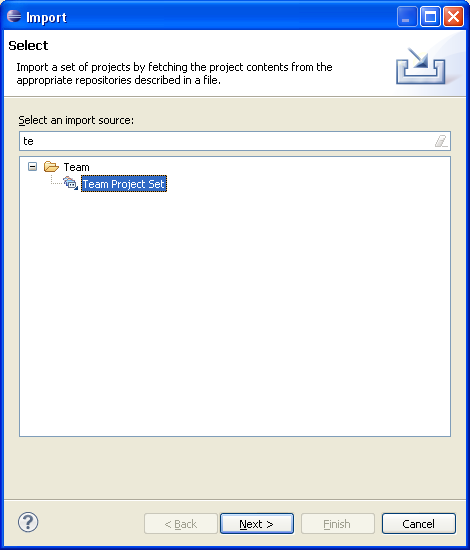
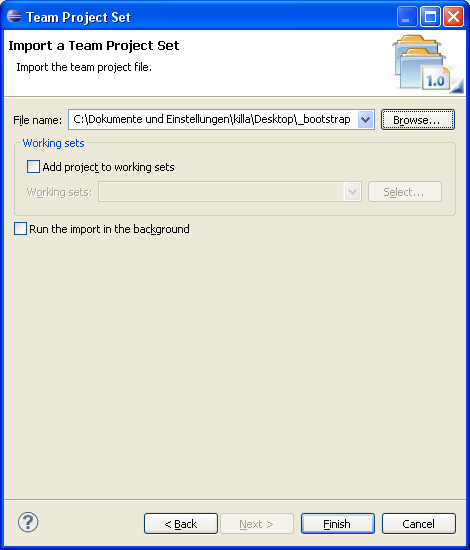
Right click the Package Explorer and choose Imort->Team Project Set. Select the downloaded _bootstrap.psf
Note, if you want to work on CDO 2.0 switch the branch with Team|Switch to "R2_0_maintenance" branch (not tag!)
Materialize the Sources and the Target Platform
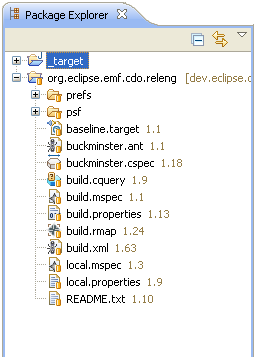
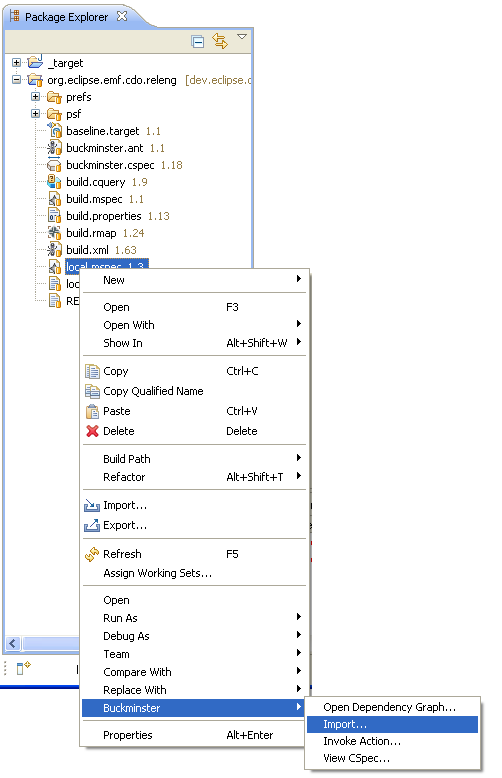
To materialize the sources right-click the local.mspec, select Buckminster|Import...
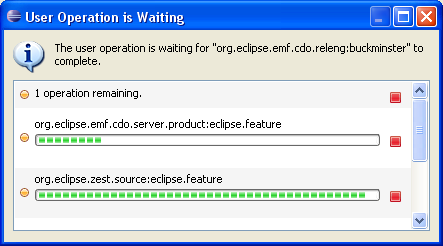
While the following dialog is running go and fetch a coffee, or two, or three...
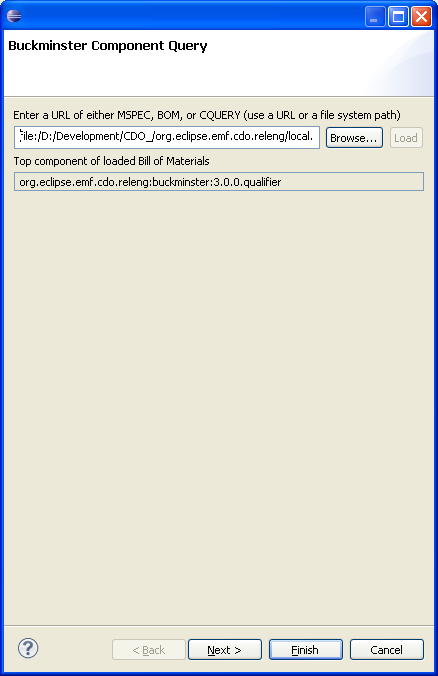
Finally hit the 'Finish' button

